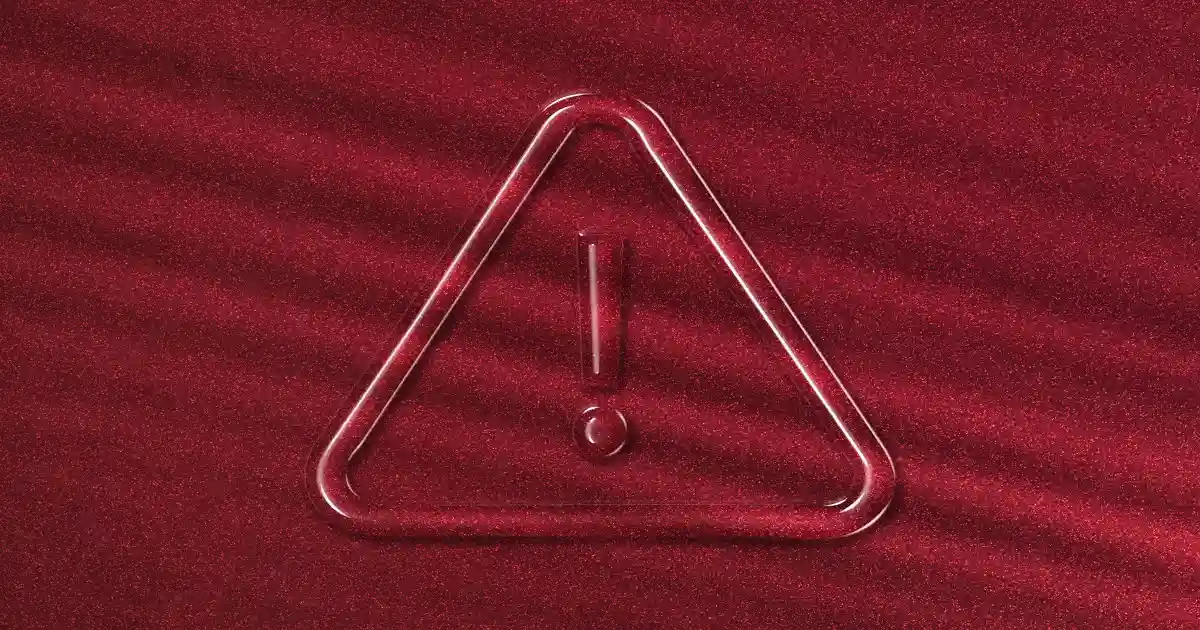
Adobe Premiere Pro is a powerful video editing tool, but like any software, it can sometimes present unexpected challenges. One of the most common issues users encounter is the red triangle with an exclamation point. This icon can be confusing and frustrating, especially if you’re unsure what it signifies or how to resolve it. In this guide, we’ll explore what Premiere Pro Red Triangle with Exclamation Point symbol means, why it appears, and how to fix it effectively.
What Does the Red Triangle with Exclamation Point Mean in Premiere Pro?
The red triangle with an exclamation point in Premiere Pro is a warning symbol. It typically indicates a problem with one or more elements in your project, such as missing media, timeline errors, or rendering issues. This icon serves as a visual cue for the user to address an underlying issue before proceeding with editing or exporting.
Common Reasons for the Red Triangle
-
Missing Media Files
- Premiere Pro relies on linked media files. If a file is moved, renamed, or deleted, Premiere Pro may lose its connection to that file, resulting in the red triangle.
-
Effects Rendering Errors
- Some effects or transitions may fail to render properly due to incompatibility, corrupt files, or insufficient system resources.
-
Timeline Inconsistencies
- Overlapping or unsupported file formats in the timeline can trigger the warning.
-
Hardware Limitations
- Insufficient GPU or CPU resources may lead to rendering failures or playback glitches, resulting in the red triangle.
-
Corrupt Cache or Preferences
- Corrupt cache files or misconfigured preferences can interfere with the software’s normal operation.
How to Fix the Red Triangle in Premiere Pro
1. Relink Missing Media
- Step 1: Locate the missing media files in your system.
- Step 2: In Premiere Pro, right-click the missing media file in the project panel and select “Link Media.”
- Step 3: Navigate to the file’s new location and click “OK” to relink it.
Pro Tip: Keep your media files organized in a dedicated folder and avoid moving or renaming them during an ongoing project.
2. Resolve Effects or Transition Errors
- Step 1: Identify the clip with the red triangle in the timeline.
- Step 2: Check the applied effects or transitions.
- Step 3: Remove and reapply the effect or transition. Alternatively, replace it with a compatible one.
Pro Tip: Ensure your Premiere Pro version is up-to-date to avoid compatibility issues with effects.
3. Fix Timeline Issues
- Step 1: Zoom into the timeline to inspect overlapping clips or transitions.
- Step 2: Adjust the clips to eliminate overlaps or unsupported formats.
- Step 3: If needed, convert unsupported file formats using media conversion tools before importing them.
4. Optimize System Performance
- Step 1: Close other resource-heavy applications running in the background.
- Step 2: Go to File > Project Settings > General and adjust the rendering settings to use software rendering instead of GPU acceleration if hardware limitations are present.
- Step 3: Upgrade your hardware if the problem persists, particularly the GPU and RAM.
5. Clear Cache and Reset Preferences
- Step 1: Go to Edit > Preferences > Media Cache and click on “Delete” to clear cache files.
- Step 2: Reset preferences by holding Alt (Windows) or Option (Mac) while launching Premiere Pro. This will restore default settings.
Pro Tip: Regularly clear cache files to avoid performance degradation.
6. Check for Software Updates
- Ensure your Premiere Pro software is updated to the latest version. Updates often include bug fixes and improved compatibility with hardware and file formats.
How to Update:
- Open the Creative Cloud desktop app.
- Navigate to Premiere Pro and click “Update.”
Preventing the Red Triangle Issue
- Organize Your Files: Keep all media files in a structured folder and avoid unnecessary changes.
- Regularly Save Projects: Use the auto-save feature to avoid data loss.
- Backup Projects: Maintain backups to recover from unexpected issues.
- Monitor System Performance: Ensure your computer meets Premiere Pro’s recommended specifications.
- Test Effects Before Applying: Some third-party effects may not be fully compatible with Premiere Pro.
FAQs
1. Why does the red triangle appear only on certain clips?
This usually happens when the issue is clip-specific, such as missing media, incompatible effects, or rendering errors unique to that clip.
2. Can I export my project with the red triangle?
Yes, but the resulting file may have errors or missing elements. It’s best to address the issue before exporting to ensure a polished final product.
3. Does clearing the media cache delete my project files?
No, clearing the media cache only removes temporary files. Your project files and media remain intact.
4. How can I identify the exact issue causing the red triangle?
Hover over the red triangle to see a tooltip message. Additionally, inspect the timeline and project panel for missing media or error indicators.
5. Is the red triangle issue common in all Premiere Pro versions?
The issue can occur in any version but is more prevalent in older versions. Keeping the software updated reduces the likelihood of encountering this problem.
Conclusion
The red triangle with an exclamation point in Premiere Pro may seem daunting, but it’s a helpful indicator of issues that need your attention. By understanding its causes and applying the fixes outlined in this guide, you can quickly resolve the issue and continue editing without interruptions. Regularly updating your software, organizing your media, and optimizing your system performance can help prevent this problem in the future.
For more important news please visit my website: fixhq
